

Introduction
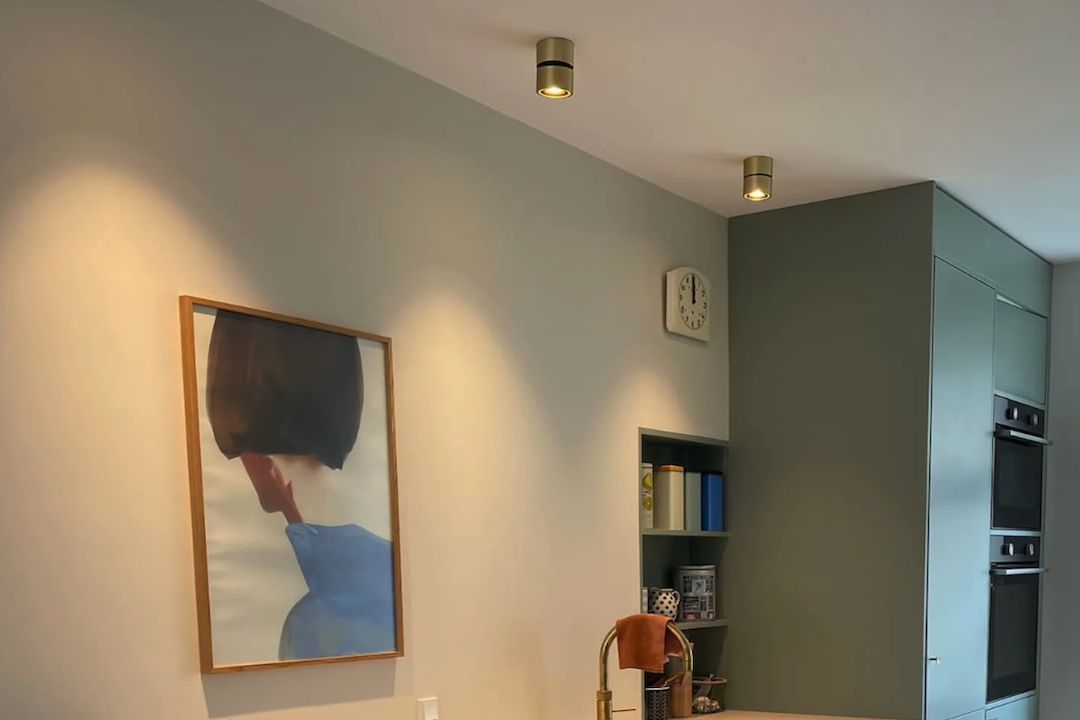
Wall lights are a popular choice for illuminating a room, as they provide both functional and aesthetic benefits. However, they may need to be changed from time to time due to wear and tear or simply to update the look of the room. While changing wall lights may seem like a daunting task, it can be done easily with the right tools and knowledge. This step-by-step guide will show you how to change wall lights in a safe and effective manner.
Step 1: Turn off the Power
Before you begin removing the old wall light, make sure to turn off the power to the fixture. You can do this by flipping the circuit breaker that controls the light or by turning off the light switch. This will prevent you from getting electrocuted while working on the light.
Step 2: Remove the Old Wall Light
Once the power is off, you can safely remove the old wall light. First, remove the screws that hold the fixture to the wall. Then, carefully pull the fixture away from the wall to expose the wires. To disconnect the wires, you will need to unscrew the wire nuts that connect them.
Step 3: Inspect and Prepare the Wiring
After you have removed the old fixture, inspect the wiring to make sure it is in good condition. If the wiring is frayed or damaged, you will need to replace it before installing the new fixture. If the wiring is in good condition, you can proceed to prepare it for the new fixture. Use wire strippers to remove about 1/2 inch of insulation from the wires, and twist the strands of each wire together.
Step 4: Install the Mounting Plate
The next step is to install the mounting plate for the new fixture. This plate will attach to the wall and provide a secure base for the fixture. To install the plate, line it up with the existing electrical box and attach it with screws provided. Make sure the plate is level and secure.
Step 5: Connect the Wires
After the mounting plate is installed, you can connect the wires from the new fixture to the wiring in the electrical box. Match the wires by color and attach them together with wire nuts. Make sure the connections are tight and secure.
Step 6: Attach the Fixture
Once the wires are connected, you can attach the fixture to the mounting plate. Line up the screw holes on the fixture with the screws on the mounting plate and attach them securely. Make sure the fixture is level and flush against the wall.
Step 7: Install Light Bulbs
Finally, you can install the light bulbs in the new fixture. Make sure you use the correct wattage bulbs for the fixture and screw them in securely. Turn the power back on and test the fixture to make sure it is working properly.
Changing wall lights may seem daunting, but it is a task that can be easily accomplished with the right tools and knowledge. Remember to always turn off the power and inspect the wiring before beginning any work on the fixture. Follow these step-by-step instructions to change your wall lights in a safe and effective manner.